With all the mayhem going on in the world, most people are choosing to stay home in the sanctuary of their own spaces. But what if your backyard space looks more like a prison than an oasis? Don’t worry as we have the answers to making your backyard space a great place to relax and unwind this season.
How is your deck looking?
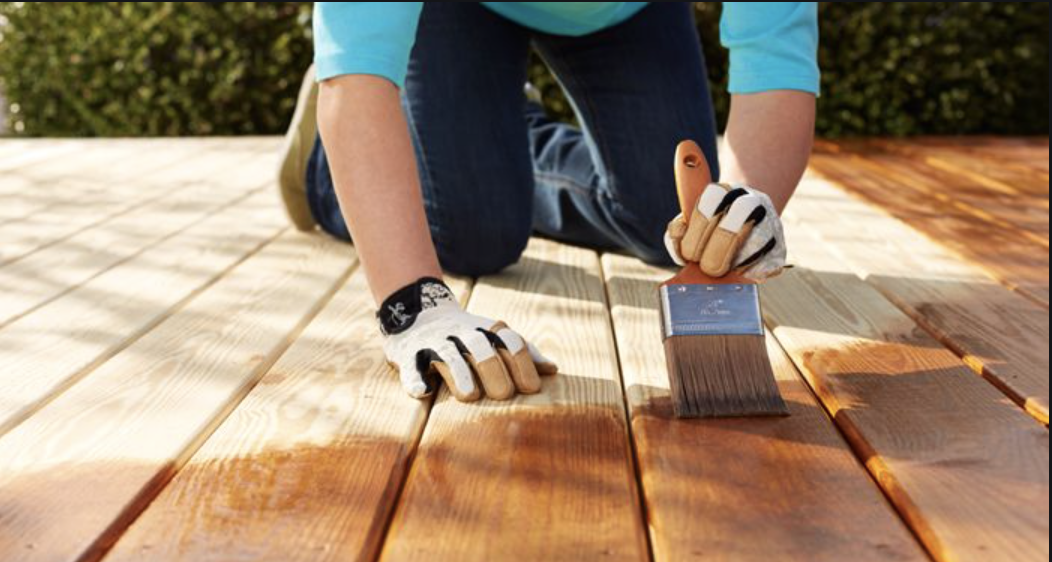
Is it spectacular or a sight? Do you know re-staining your deck is not as expensive or hard as you may think? Preparation of the wood is the key in conjunction with a good stain product. Think of using a stain and sealant in one product to save time such as Olympic Maximum Stain and Sealant.
1. Test your deck surface. A simple test is to put some water on your dry deck. If the water is absorbed after a few minutes then it’s definitely time to re-stain. If it beads on the surface, then you’ll have strip that sealant as it’s still working.
2. Clean that deck. You can just broom off the debris before you stain. To ensure your new stain lasts and looks even you should really clean the deck of contaminants first. There are lots of deck cleaners out there, as well as pressure washing will ensure your surface is ready.
3. Do you need to sand? If you’ve never protected it or stained it you probably should sand. If you have stained it before and can remove stain by placing a piece of tape on it and pulling it off, then you’ll need to sand as well.
4. Time to stain. Once your surface is prepped, then you’re ready to stain. A brush is the optimum way to apply stain but you can still use a roller or paint pad as well. The trick is to always have a wet edge and make certain you get in between the boards, cracks and edges.
5. Take your time and be consistent. If you have railings to stain, start with them first and use a drop cloth below to protect your areas. For a great how to video from Lowes click here
Light up your Space
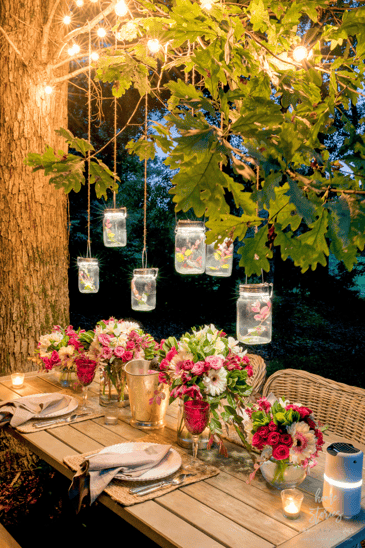 Make your backyard oasis an inviting place to unwind. Adding lights doesn’t have to be expensive. You can try solar or candle light to accentuate your yard without spending hundreds. Consider solar lite mason jars, mason jars with LED mini lights or tea lights inside that hung over head to create a dining room feel. This image from Home Stories gives a few great ideas for lighting.
Try string lights around the perimeter of your space or under the edge of planter boxes. You could feature resin solar rock lights along pathways to encourage movement through out your yard. Some even have built in mini speakers in them! They blend in during the day and then create some ambience at night.
If you have a pergola or canopy, you can try LED outdoor rope lights or fun patio string lights above on beams and walls. Then you can add beautiful hanging baskets and plants to create a private romantic space. Complete the look with some table top citronella candles that doubles as bug spray.
Is your old furniture looking sad?
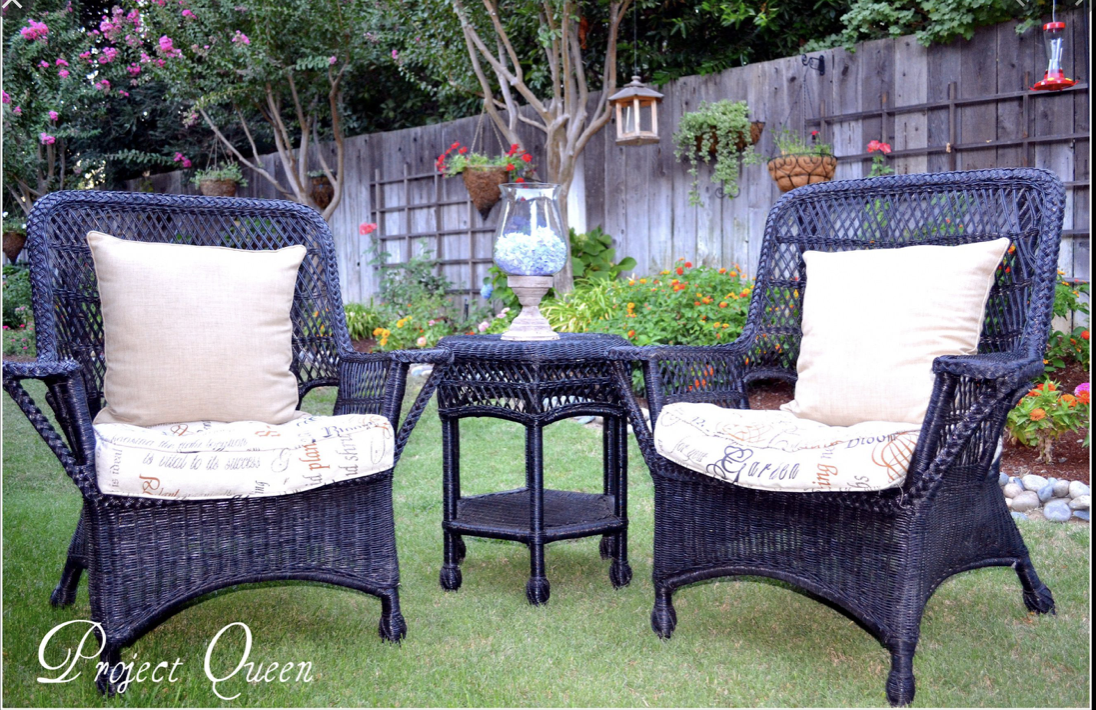
Did you know you can not only re-stain or paint metal or wood furniture but wicker resin furniture too? Buying new furniture can set you back an easy $1000 but for less than $75, you can have that old furniture looking fabulously new. You can brush new paint on which will work but take a long time or you can rent a battery operated sprayer from the local hardware and get it done in a third of the time. Martha Stewart has an easy how to video to watch. If that’s not an option then try using hand held spray can from Krylon. Just follow these easy steps:
Pillows, rugs and accents
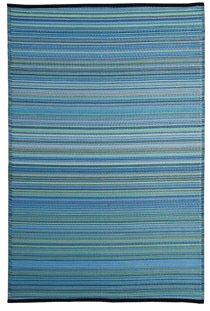
Wondering where to begin? Don’t. Most garden centres have colour palettes that have full sets of compatible items and patterns that can make you whole ensemble complete. Like the above photos from Lowes Canada. The rug goes for $39.99! Today’s trends are leaning towards bold bright patterns but truly remember this is your space so go with what makes you comfortable. An easy rule is to pick a colour that sings to you and look at items within that colour palette that match. For instance, if you found a beautiful blue, then you can goes with patterns or textures that contain a derivative of that colour. Alternatively, you can go with adjacent colours that are on the same side of the colour wheel so if chose blue then teals, greens and purples would work. Another option is to use a complementary colour or “opposite” colour. If you chose red, then a lime green or bright green would be an opposite. See the diagram below.

Planters that will pop
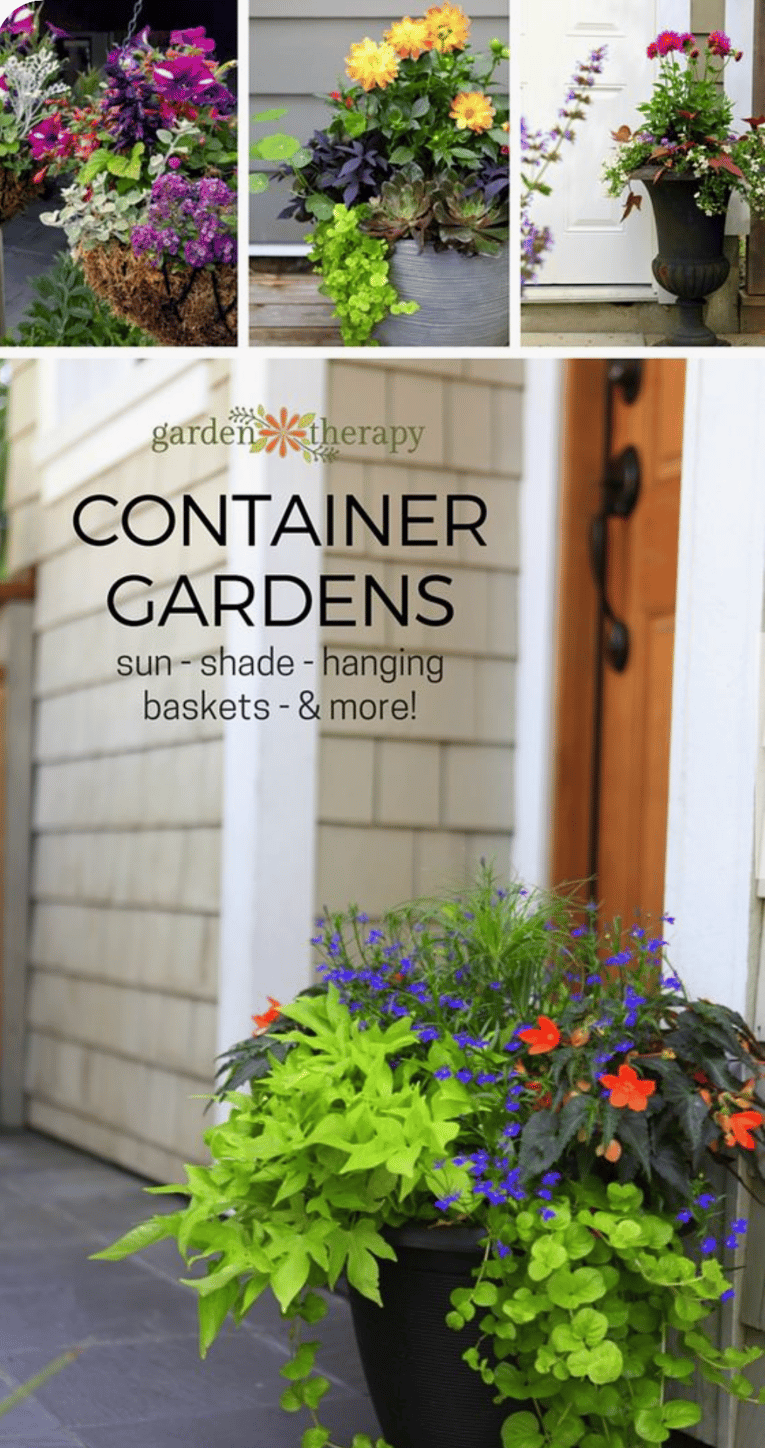
You can incorporate your colour palette into planters as well! There are so many neat designs out there and great DIY projects. Garden therapy has some fabulous designs. One important thing to remember is our climate, where you are placing your plants and how much sun exposure or water it gets. In Calgary, we get our far share of chinooks, heat and even snow in the summer so be prepared to cover up some planters with plastic when our skies open up.
You can utilize bright colour pots to add in you colour theme which stand out and add some drama. If you can spend the money on new pots, then just spray paint the ones you have to create that look. Remember to spray them with a sealant or use paint made for the outdoors.

